Chamokane Falls

This past week I went to Chamokane Falls. It is a little 13 foot waterfall on Chamokane Creek which is located fairly close to Reardan, WA . This creek is about an hour outside of Spokane. The drive up is very scenic.

I was not as blown away as I thought I would be about the surroundings. The creek was definitely low and and it was a little bit dead overall. I decided this was a perfect time to work on some of “micro shots”. At least, attempt to. I do not actually have a micro lens but I try to use my equipment to the best of my ability.  That being said I always accept donations ahahahahah!!

Please Let me know your thoughts!

Cheyann Shae

Places & Details

Experience a piece of Spokane’s history that started with a few immigrants.

So I have been a horrible student lately. I have been letting life get ahead of me. I have been falling way behind, but I am finally getting caught up! In Photo Design, our teacher had wanted us to explore our environment and think about how we portray an environment. I chose the old Hoyt Brothers Flower Co.

A little history (according to the Spokesman Review), the Hoyt Brother’s Flower Company was owned by two Italian immigrants; the Hoyt Brothers. In 1900, the brothers built their first greenhouse (30-by-50-foot) which is now located on the side of the I90 next to the Garden Springs exit. The brothers had a total of six greenhouses at this location. With a blooming business, the Hoyt brothers opened retail shops throughout Spokane, Post, & Riverside.

The brothers would often hire Italian immigrants. One immigrant, from their home town outside of Milan, Italy, would go on to purchase the company in 1929. His name was Severino Moncalvo and he would eventually pass down the business to his son, Rudy, in 1970. Because of the Hoyt brothers Spokane had been ranked the fourth best spot west of the Mississippi for flower-shipping. In 1983, the flower company was sold again and dismantled only leaving the smokestack that drivers can now see on the side of the freeway standing alone.

One of the brothers did sell a greenhouse separately to Joe Langretto; who ran it as Sunnydale Greenhouses. A Hampton Inn now stands in its place. Many of the workers would then start their own businesses as well. We now have business like Liberty Park Florists, and Angelo’s Flowers (which is now closed) because of these Italian brothers.

I found it interesting that the Hoyt Brothers Flower Company was founded on immigrants and the encouragement of success among the community. Though, at first I did not view the situation as such. A portion of genetic makeup is Italian and [beside the food] I had not really seen that as a good thing. I saw all of the workers starting their own businesses as betrayal towards the owners who gave them jobs after moving to a different country. So, I found that the destruction of the Hoyt Brothers Flower Company a result of the workers taking their clients and profit from them. Though, looking back to what I have learned I realize that the brothers grew their empire as immigrants and probably wanted to show and help other immigrants to achieve their level of success.

At the smokestack, I predicted to find old remains  of the past building and maybe some remaining floral. I did expect to hear a lot of noise from the freeway as cars drove by. There was not much I expected to do in regards to activities that were available. I was hoping that the land that the old smokestack was bigger than it was. What I was surprised to find was friendly neighbors and an even friendlier dog, I believe her name was Lola.

Visiting the smokestack my goal was to take pictures of it as a Place and then the Details that make it so memorable.

Photo 112: Project 1: Design Elements

Design elements & principles are what make a photo or image ( or any other medium) successful. In photo 112, our first project was to re-examine these principles and elements. The biggest thing I took from doing this project is how much I have improved just in the last 3 months of going to school at Spokane Falls Community College.

Point: Point can offer great spots of emphasis. A point can be in a group and have something to stand out or the subject can be by itself.

untitled (27 of 41)  untitled (6 of 41)

Points can also cause a rhythm and pattern for the viewer


Lines: There are many types of lines; organic, vertical, diagonal, & horizontal.

untitled (18 of 41) untitled (17 of 41).jpg untitled (40 of 41).jpg

Very strong lines that lead the viewer through the photo are called Leading Lines and can help determine the flow of a picture

Shape: 2-Dimensional; often implied rather than having defined shadows and highlightsuntitled (29 of 41).jpg

Form: has shape and dimension

untitled (15 of 41).jpg

Movement: action or the implication of action

untitled (8 of 41).jpg untitled (38 of 41)

Color:untitled (13 of 41)

untitled (34 of 41)

Color offer great contrast and can effect the mood of a photo.

Pattern:

untitled (31 of 41)

untitled (20 of 41)

Texture:

untitled (28 of 41)

untitled (19 of 41)

Balance:

Radial
untitled (25 of 41)

Proportion:

untitled (33 of 41)

Rhythm: untitled (24 of 41)

untitled (36 of 41)


Emphasis:

untitled (2 of 41)

Unity:

untitled (41 of 41)

Understanding the design elements and principles of any type of art can really help improve your work. If you viewed all of my work above you can tell I am really great at capturing: Texture, lines, emphasis, rhythm and patterns. However, I can still work on my colors, balance and proportions. I love the details and the subtle-ness of everyday life and I am for sure drawn to more subdued colors of older fixtures and organic natural lines. And since leaving in Washington, I have been oddly obsessed with Moss and green foliage. This time around I very pleased with what I have been able to improve on since I first began schooling and cannot wait to see what else I can learn!


Below are my exhibition photos:

This slideshow requires JavaScript.

Location 1: Group Project 2: 2 lights

This time around, the group project was centered around using lighting on location. However, instead of using one strobe we were to use 2.

Sun:

Photographer: Amanda     Model: Erica   Assistants: Cris, Stephanie, & Cheyann

We decided to shoot out of class for this portion of the project. Simply, because Tuesday was going to the only day we would have sun for the rest of the week! To be completely honest, I still did not quiet understand what was happening until the end of this session. I think the biggest reason as to why I was able to finally understand what was going on was because we newbies kind of ran the show and our lovely ‘seniors’ were really there for support- this is what we wanted, to see them do the first project then to have us lead the next project.

Sun_strobes_slide.jpg

We read the sun by itself as f16 @ iso 200 & 1/40th sec. It was fairly easy to get Erica set up with just the ambient lighting. It was so bright out with little cloud coverage that there was no issue in finding where our model needs to stand. However, when we needed to illuminate the background with the second strobe. The biggest issue was that we choose a background with a glossy look. So, when we attempted to sset up the strobe it was not reflecting in the way we had hoped. Eventually we thought UP! So, Stephanie held the strobe like a boom mic and we finally got the light to hit to the right of her head (where the sun was coming from). The only downfall with that was everything was so in frame that we had to crop down a lot. If we were to change anything I would try to find a different back ground.


Lighting_Setup Sun.jpg 
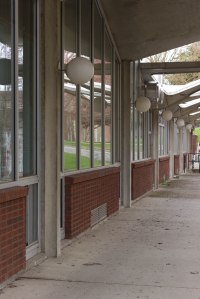
the set up on the dugout
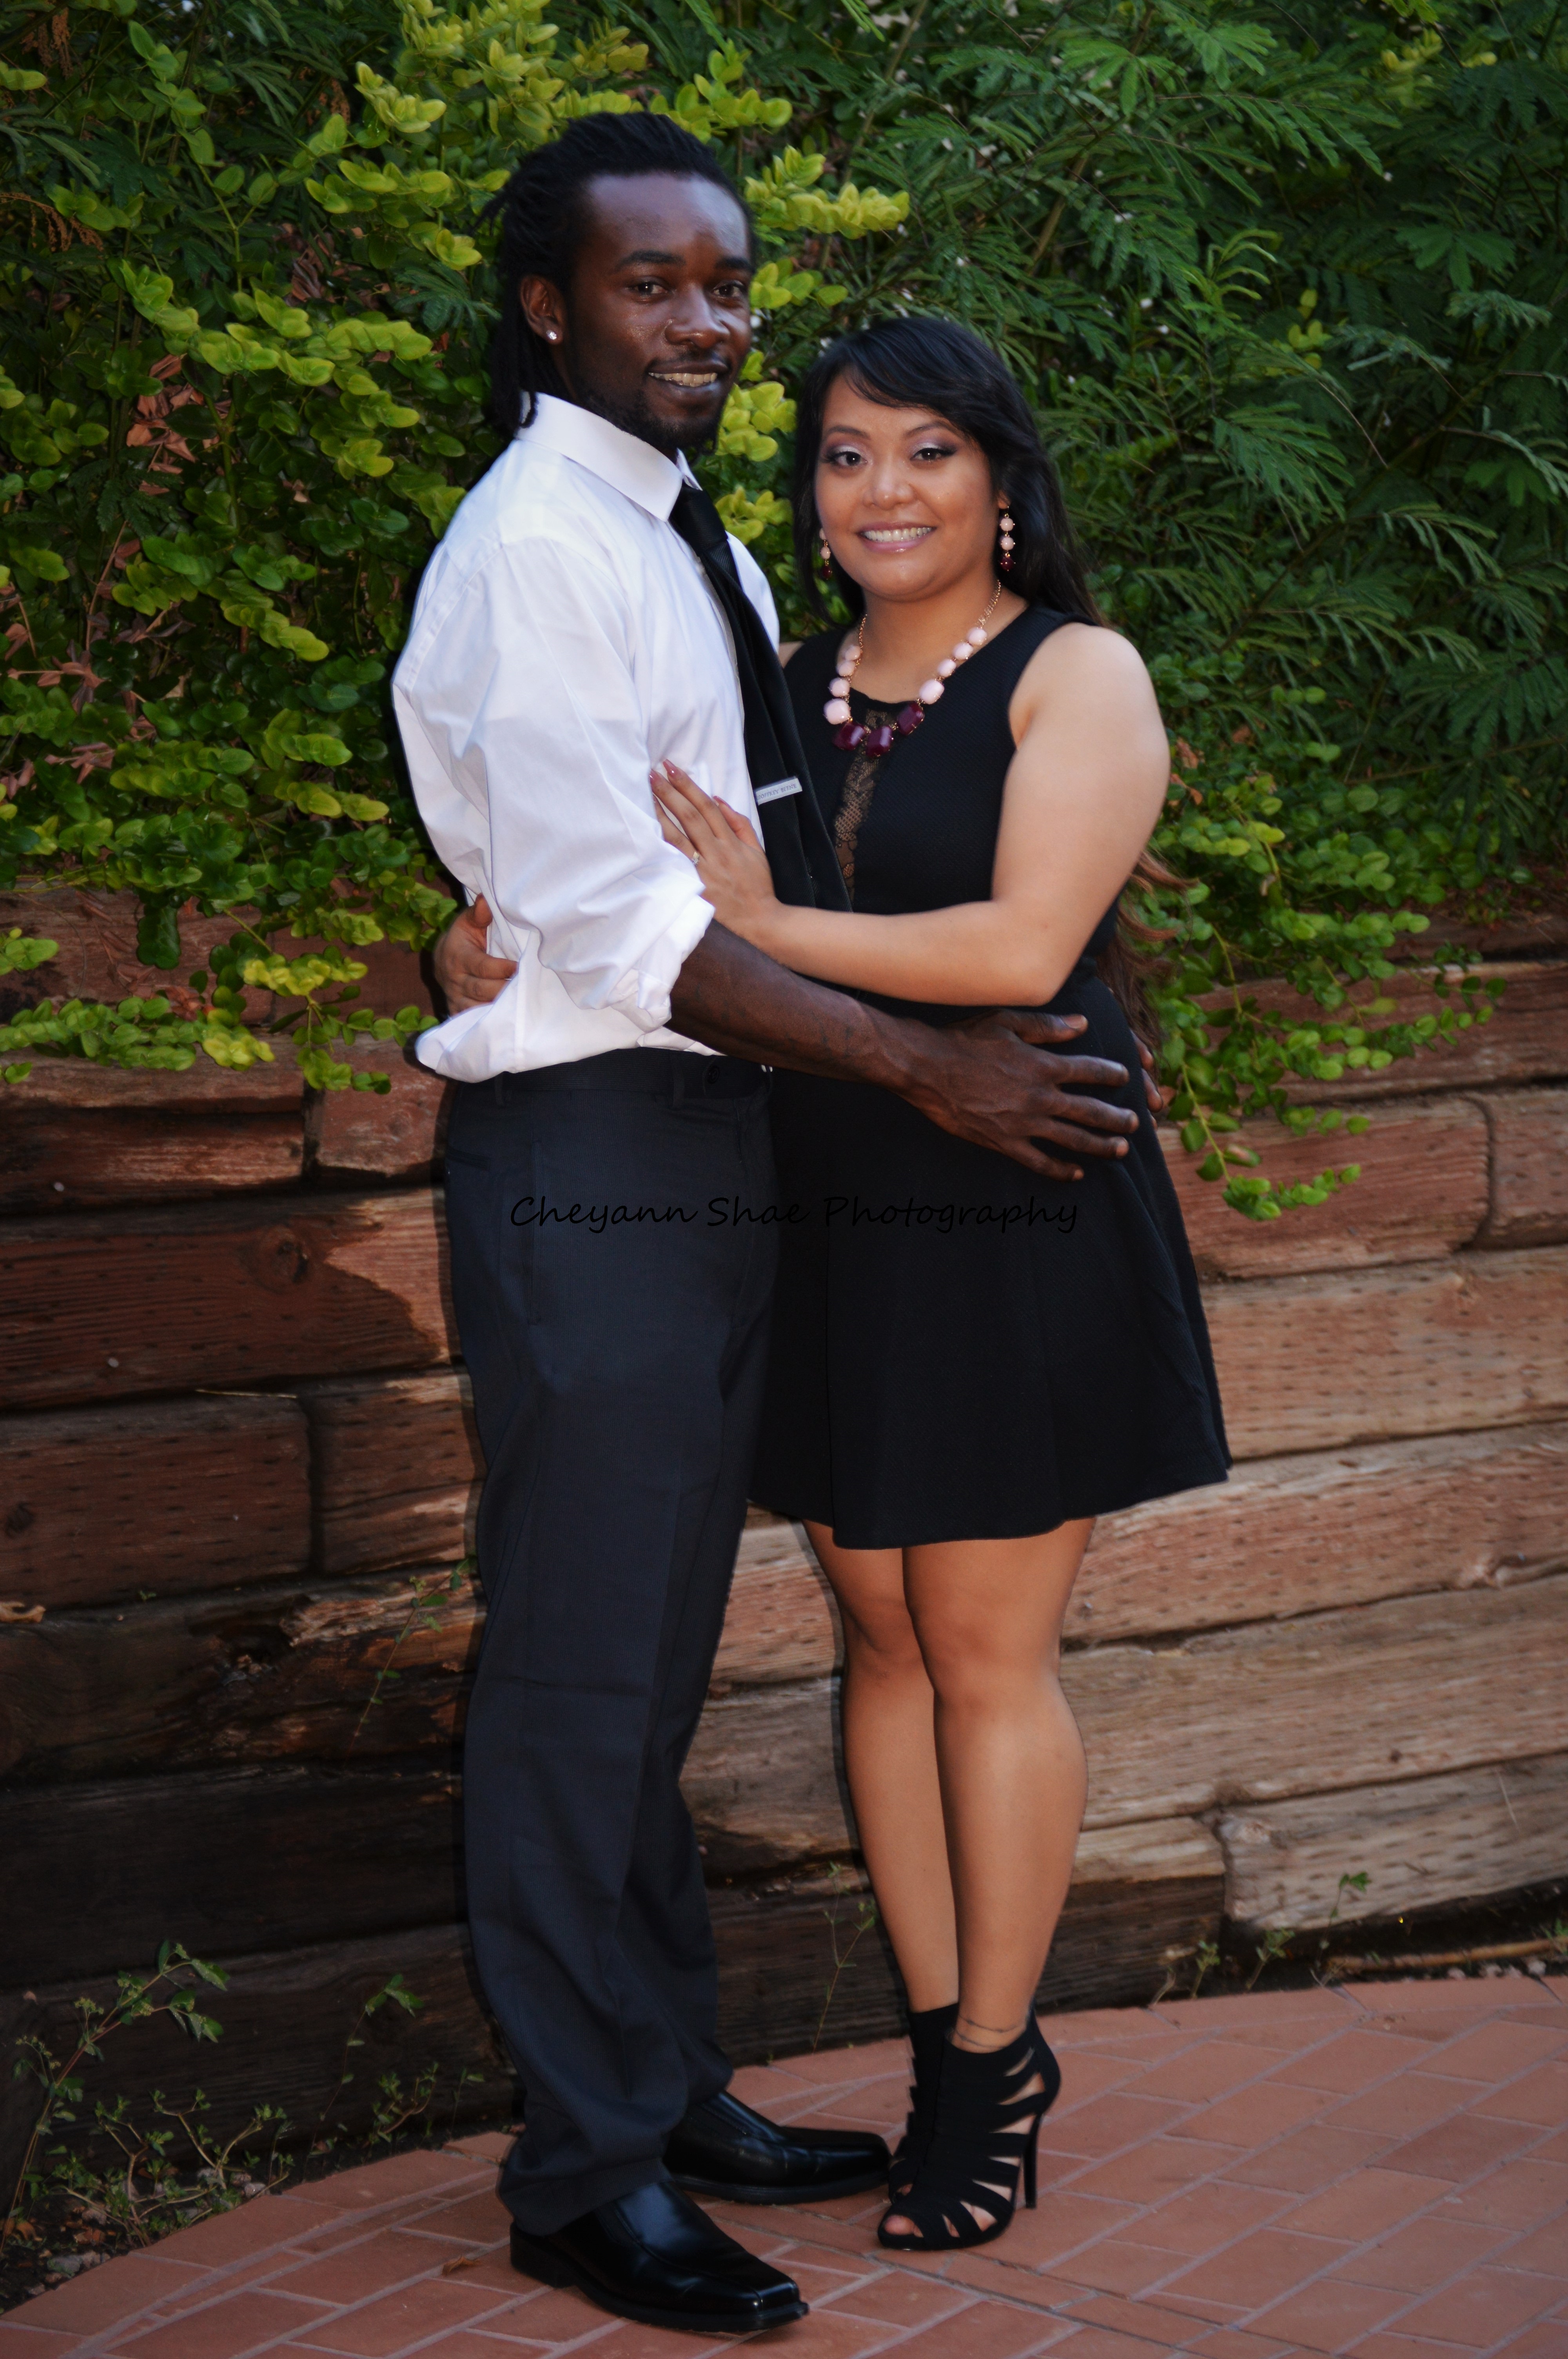
Shade:

Photographer Cristobal  Model: Erica  Assistants: Amanda, Cheyann & Devil Tri-Pod

We found this great location to shoot our shade portion of the project on. Unfortantely, we had so much issues that when we were finally able to get everything to work we forgot to make sure Erica was in focus.

G1A2_slide_shade_strobe.jpg

To me, she looks like she is  bouncer coming up from a really obscure underground night club. Now, this shoot was a nightmare. First off, it was raining and where we wanted to shoot did not provide accurate shelter to make sure our equipment stayed safe. Amanda and I sacrificed our jackets to cover the strobes from too much water and Cris used the umbrella to cover the camera. Getting our ambient metered was set up and found was easy. We had decided to shoot on a stair way so it was pretty obvious where we needed to set up our lights. It was after setting everything up that we had the issues. For some reason our pocket wizards were not syncing. We switched the pocket wizards, turned them on & off, took them off then put them back on. Every now and then they would work but then randomly stop. After 3 cameras and like 4 phone calls to the teacher we figured out why. It was a possessed tri-pod. For some reason, when the camera (with the pocket wizard attached) was on the tri-pod and on the portrait setting, the pocket wizard would refuse to do anything. But as soon as we took it off the tri-pod, and still had it positioned for portrait, it worked! The shade took an hour too long to do, but I think it taught us a good lesson….. bring your own tri-pod. Lighting_Setup Shade.jpgthe set up on the stairs

Overall:
After the last 2 projects, I definitely understand what lighting is and how important it is. When we first started, I got the impression that the strobes were meant to be the main source of lighting and the sun was going to be more of the fill. I am not too sure as to where I got that thought from. But after rereading the project documents again, I finally understand that they were meant to be fills. And once I figured that out, everything the other group members were saying made sense and clicked in my head. What also made sense finally, was why we bracket. We had bracketed to see the difference between the ambient and strobe lighting. I know have a better understanding of ‘stops’. Basically, whenever someone says to increase or decrease a stop, they mean to go down or up 1 full measurement of whatever you are using.

Photography 121: Location Group Project 1

One of the exciting classes I get to take this quarter is Location 1. In the class, we will learn how to use lighting in different locations scenarios. The objective for the first group project was to give us an introduction into using mix lighting in our photography. I also get to work with exceptional members who are very understanding and helpful for the newbies who have no idea what they are doing.

The First Scenario: Sun

Photographer: Stephanie

Model: Cristobal

Assistants: Erica, Amanda & Cheyann

Sun_slide Group 1.jpg

Doing a ‘sun’ assignment on a day when you get hail is particularly hard. However, the sky dried and opened up for a little bit. Thankfully, before the sun came the rain and hail stopped! While we were waiting for the sun we had sat everything up as best as we could get it. We were lucky and has some space in-between clouds and got all of our metering done.  If you look at our final picture (above) you can see that the ground was wet still.  For the set up of the model, I think we were pretty successful in getting him position with the little sun we did have. We only had to move him a few inches back from when we did our ambient lighting. We moved him back reduce the power of the strobe against the power of the sun.

At first we did not understand that with sun portion we were supposed to have the power a stop and a half under what the ambient light was metering at. And at that part of the assignment I do feel that we failed at. Going over the assignment again, I know where we failed. We were trying to make the strobe light our main source of lighting instead of the sun. We did not use the strobe as a fill light, and instead set our strobe to be about a stop and a half higher than what the sun was metering at. Looking at our final photo, it definitely is not as successful as it could of been if we used the lighting correctly. Now, this could because 3/5 members had no clue what we were doing [though, now, we understand it a lot better]. However, if you consider the fact that we were able to make the strobe the main lighting instead of the sun is pretty impressive and this definitely gave us inexperienced classmates a better understanding of lighting and metering for sure.


sun amb1.60th.jpg

This was for sure a great way to experience working with a vast variety of weather and working around it (and hungry models). We had to work fast because of the inconsistent sun exposure.

Below is the outline of how we set up our set

LightingSetup

Second Scenarios: Shade

Shade for sure was the easiest out of the 2 scenarios that we had to do. One, because we did not have to wait on the sun but when the sun did appear we had to wait it out because it would change the ambient lighting around the scene which would in turn change our meter readings once we started inserting the strobes. Shade Slide.jpg

This was actually the first setting we got to play with the single light set up. The biggest thing we had an issue with was mergers in the background with the model. This portion of the project went fairly smoothly though, I did not understand what half of the terms being spewed out meant. What I took most from this portion of the project is how important lighting in shade is and how much better it can make a photo if set up properly.

Below is our set up for the shade set

LightingSetup


SFCC: Digital 126

This year I went back to school and could not be more pleased! I have finally decided to go learn about something I love. Photography! Here are some photos from my digital class this quarter that I hope you all enjoy. I have learned so much and am very grateful for the opportunity that I get to work with such amazing and talented teachers, mentors, and fellow students. **Once, I have presented my prints for film I will upload those as well.

I loved figuring out what I wanted to do as a photographer and cannot wait to see what I do moving forward. I love taking detail, almost fine art, photos. Sometimes, the closer the better. But, taking a step back does not hurt either. We got to play and experiment a lot with composition this quarter as well. Going out and taking photos of my new surroundings made me miss home, however, seeing how far I have come reminds me that I am making my family proud. I got to learn more about Lightroom ( Adobe) and A LOT more about Photoshop.

This slideshow requires JavaScript.

An Unexpected Christmas Present

This past year Lo (my fiance) finally found what he wanted to do when he grows up. So we packed up our stuff- along with his best friend- and moved way north of Phoenix, Arizona to Spokane, Washington. This being said the parents have been in constant contact. While we were talking with J’s mom (best friend/ roommate) she said has not had a nice set of photos of him since he was a kid. J is very much a boy. He does not see the purpose of making a fuss over many things. A little secret, I live with two boys so I am the one who makes all of the fuss for anything.

Anyways, this past weekend we got our first snow weather. Not a storm but just constant snow. And very stupidly decided this weekend was when we are going to take surprise photos for his mother for Christmas.

I think she will love them. And does he not look absolutely adorable. P.S. he is single so if you know anyone! 😉


A Family Family Session

The great thing about photographing your family is the fact that you remember all of the changes and the growth they have had through out the years. It is amazing what only a few years can change.

I remember trying to be cool, like my older cousin, and now I am coo-ing at his youngest and playing cars with his oldest. Thank you so much JR and DR. You both are great parents and spouses and its been a pleasure watching each of you grow [whether its been for  4 years or my whole] and I cannot wait to see all that you will accomplish as a family.

DSC_0672

I love this picture the most of them because it really does show how a relationship is. You might always love the other, you might now always want to kiss them (mostly because they are hot and sweaty). The best part about being in love is annoying your best friend friend for life!


DSC_1145

Look at those BOYS! And look at those eyes! They both look such like their Mama, but it is undeniable the have some of their father in them. I believe they have the R’s ears.

It is funny remembering this man you see in these photos, as a teen. Where his arms were a little to long for his body and thinking he was all that. So many things have changed since we were all kids, and watching him grow into this loving father and husband the past few years have been amazing. The love he has for his family is amazing and something I am only hopeful for in the future.

I might have not known Mom, as long as I have Dad; however, she has been such a great addition to our whole family. The love she shows her boys and husband is amazing. The support she has provided for the hard times that have come along.


Congratulations, guys on the great life you have built together! I look forward to seeing your family grow as the years go by. DSC_0709 bw

Kara Engagement Photo Session

October 2nd 2015:

I got to photograph a really cute couple yesterday for their engagement photos. These two were so sweet, funny and madly in love. I often joked that they enjoyed the kissing photos a little too much. But all joking aside, they were amazing couple and I am honored that I got to photograph it. I wish you two the best of luck in your journeys together.

Cheyann Shae

DSC_0034 (2) DSC_0034 DSC_0038 DSC_0039 DSC_0044 (2) DSC_0044 DSC_0048 DSC_0052 (2) DSC_0052 DSC_0057 DSC_0064 DSC_0077 (2) DSC_0077 DSC_0088 DSC_0093 DSC_0101 DSC_0107 DSC_0109 DSC_0111 DSC_0121 (2) DSC_0121