Places & Details

Experience a piece of Spokane’s history that started with a few immigrants.

So I have been a horrible student lately. I have been letting life get ahead of me. I have been falling way behind, but I am finally getting caught up! In Photo Design, our teacher had wanted us to explore our environment and think about how we portray an environment. I chose the old Hoyt Brothers Flower Co.

A little history (according to the Spokesman Review), the Hoyt Brother’s Flower Company was owned by two Italian immigrants; the Hoyt Brothers. In 1900, the brothers built their first greenhouse (30-by-50-foot) which is now located on the side of the I90 next to the Garden Springs exit. The brothers had a total of six greenhouses at this location. With a blooming business, the Hoyt brothers opened retail shops throughout Spokane, Post, & Riverside.

The brothers would often hire Italian immigrants. One immigrant, from their home town outside of Milan, Italy, would go on to purchase the company in 1929. His name was Severino Moncalvo and he would eventually pass down the business to his son, Rudy, in 1970. Because of the Hoyt brothers Spokane had been ranked the fourth best spot west of the Mississippi for flower-shipping. In 1983, the flower company was sold again and dismantled only leaving the smokestack that drivers can now see on the side of the freeway standing alone.

One of the brothers did sell a greenhouse separately to Joe Langretto; who ran it as Sunnydale Greenhouses. A Hampton Inn now stands in its place. Many of the workers would then start their own businesses as well. We now have business like Liberty Park Florists, and Angelo’s Flowers (which is now closed) because of these Italian brothers.

I found it interesting that the Hoyt Brothers Flower Company was founded on immigrants and the encouragement of success among the community. Though, at first I did not view the situation as such. A portion of genetic makeup is Italian and [beside the food] I had not really seen that as a good thing. I saw all of the workers starting their own businesses as betrayal towards the owners who gave them jobs after moving to a different country. So, I found that the destruction of the Hoyt Brothers Flower Company a result of the workers taking their clients and profit from them. Though, looking back to what I have learned I realize that the brothers grew their empire as immigrants and probably wanted to show and help other immigrants to achieve their level of success.

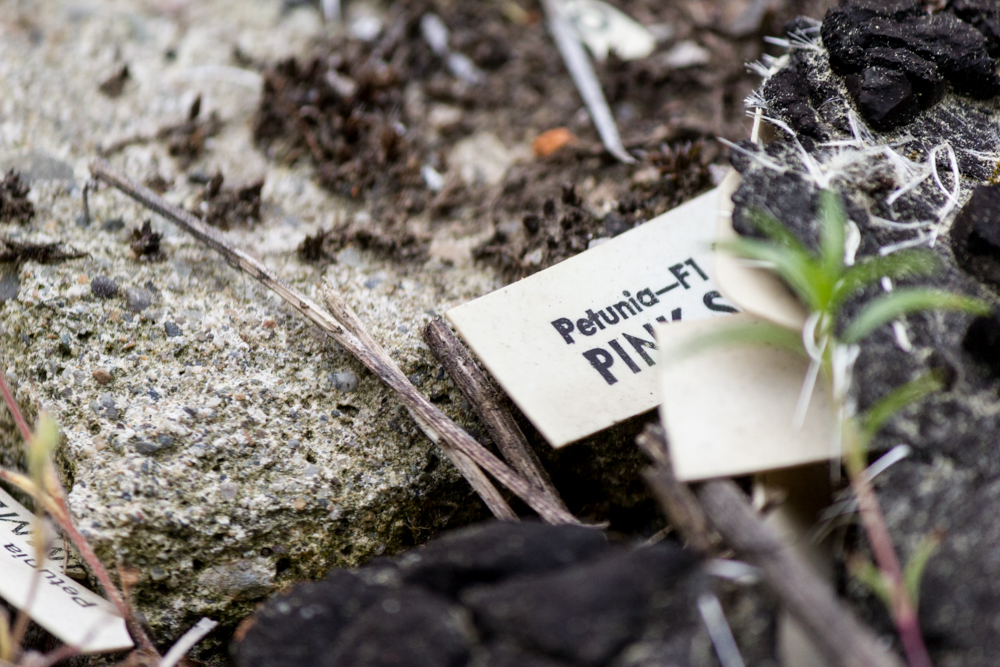
At the smokestack, I predicted to find old remains  of the past building and maybe some remaining floral. I did expect to hear a lot of noise from the freeway as cars drove by. There was not much I expected to do in regards to activities that were available. I was hoping that the land that the old smokestack was bigger than it was. What I was surprised to find was friendly neighbors and an even friendlier dog, I believe her name was Lola.

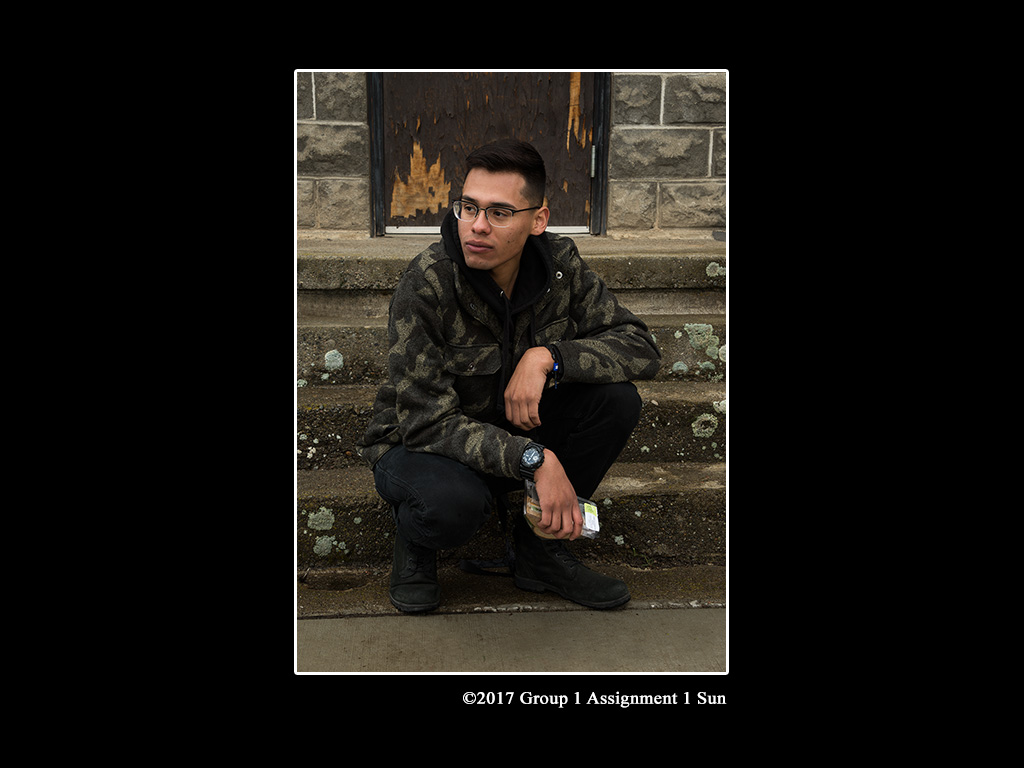
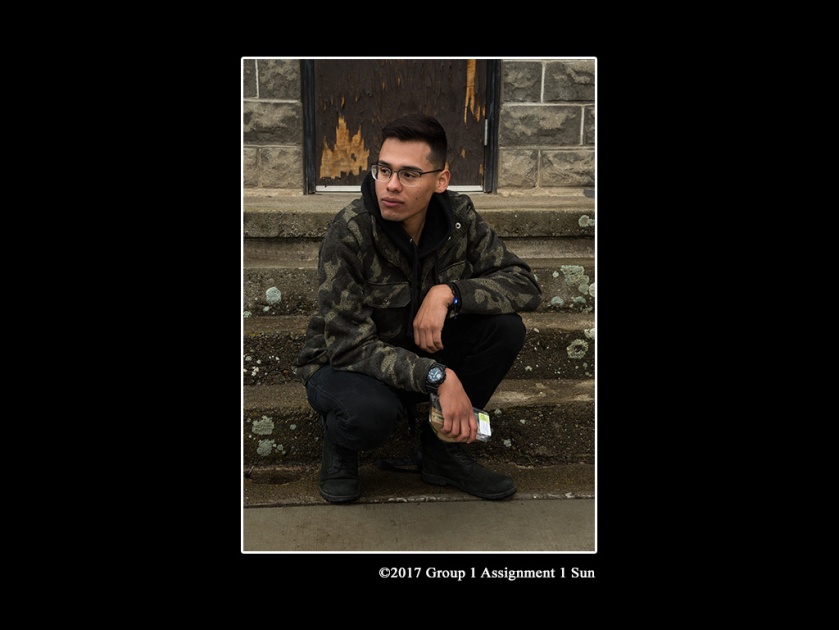
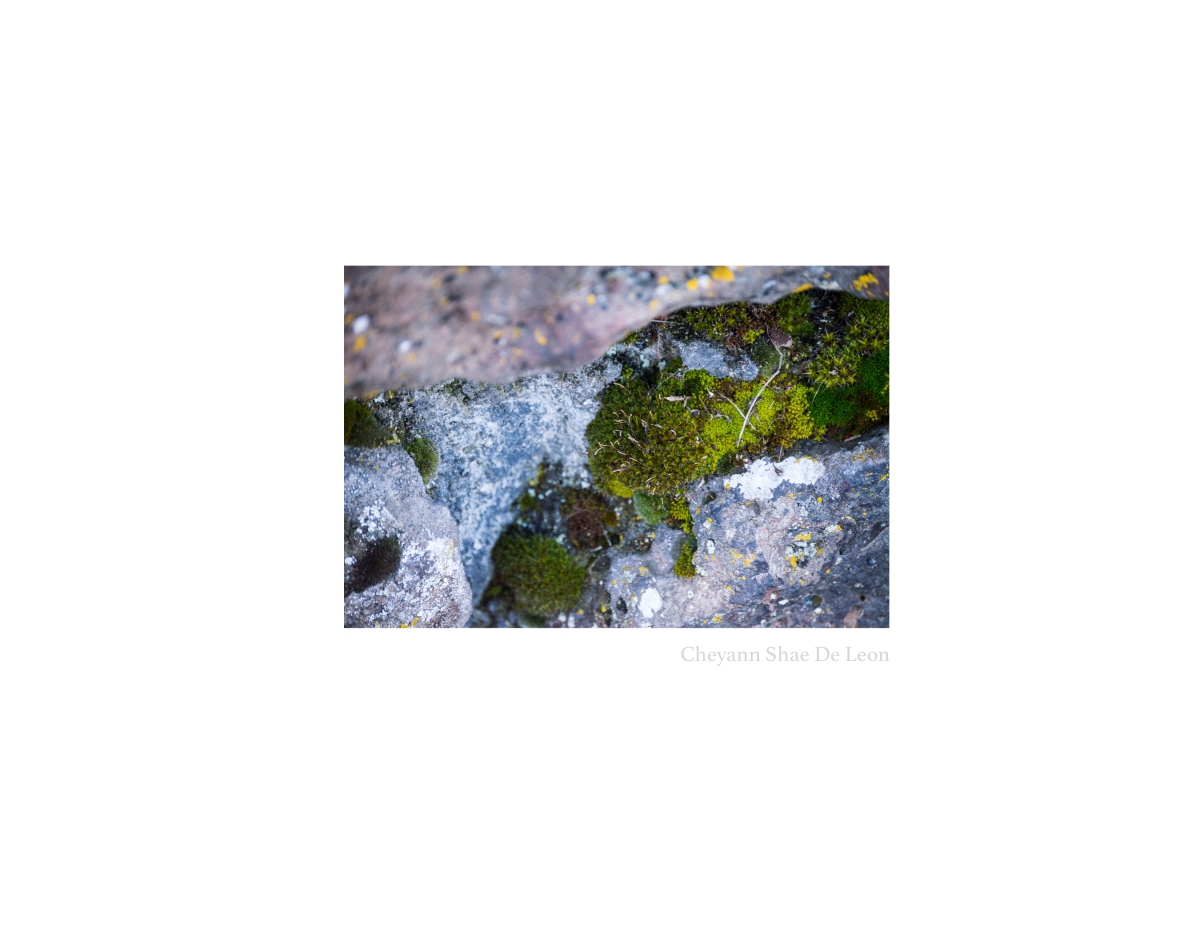
Visiting the smokestack my goal was to take pictures of it as a Place and then the Details that make it so memorable.

Photo 112: Project 1: Design Elements

Design elements & principles are what make a photo or image ( or any other medium) successful. In photo 112, our first project was to re-examine these principles and elements. The biggest thing I took from doing this project is how much I have improved just in the last 3 months of going to school at Spokane Falls Community College.

Point: Point can offer great spots of emphasis. A point can be in a group and have something to stand out or the subject can be by itself.

untitled (27 of 41)  untitled (6 of 41)

Points can also cause a rhythm and pattern for the viewer


Lines: There are many types of lines; organic, vertical, diagonal, & horizontal.

untitled (18 of 41) untitled (17 of 41).jpg untitled (40 of 41).jpg

Very strong lines that lead the viewer through the photo are called Leading Lines and can help determine the flow of a picture

Shape: 2-Dimensional; often implied rather than having defined shadows and highlightsuntitled (29 of 41).jpg

Form: has shape and dimension

untitled (15 of 41).jpg

Movement: action or the implication of action

untitled (8 of 41).jpg untitled (38 of 41)

Color:untitled (13 of 41)

untitled (34 of 41)

Color offer great contrast and can effect the mood of a photo.

Pattern:

untitled (31 of 41)

untitled (20 of 41)

Texture:

untitled (28 of 41)

untitled (19 of 41)

Balance:

Radial
untitled (25 of 41)

Proportion:

untitled (33 of 41)

Rhythm: untitled (24 of 41)

untitled (36 of 41)


Emphasis:

untitled (2 of 41)

Unity:

untitled (41 of 41)

Understanding the design elements and principles of any type of art can really help improve your work. If you viewed all of my work above you can tell I am really great at capturing: Texture, lines, emphasis, rhythm and patterns. However, I can still work on my colors, balance and proportions. I love the details and the subtle-ness of everyday life and I am for sure drawn to more subdued colors of older fixtures and organic natural lines. And since leaving in Washington, I have been oddly obsessed with Moss and green foliage. This time around I very pleased with what I have been able to improve on since I first began schooling and cannot wait to see what else I can learn!


Below are my exhibition photos:

This slideshow requires JavaScript.

Photography 121: Location Group Project 1

One of the exciting classes I get to take this quarter is Location 1. In the class, we will learn how to use lighting in different locations scenarios. The objective for the first group project was to give us an introduction into using mix lighting in our photography. I also get to work with exceptional members who are very understanding and helpful for the newbies who have no idea what they are doing.

The First Scenario: Sun

Photographer: Stephanie

Model: Cristobal

Assistants: Erica, Amanda & Cheyann

Sun_slide Group 1.jpg

Doing a ‘sun’ assignment on a day when you get hail is particularly hard. However, the sky dried and opened up for a little bit. Thankfully, before the sun came the rain and hail stopped! While we were waiting for the sun we had sat everything up as best as we could get it. We were lucky and has some space in-between clouds and got all of our metering done.  If you look at our final picture (above) you can see that the ground was wet still.  For the set up of the model, I think we were pretty successful in getting him position with the little sun we did have. We only had to move him a few inches back from when we did our ambient lighting. We moved him back reduce the power of the strobe against the power of the sun.

At first we did not understand that with sun portion we were supposed to have the power a stop and a half under what the ambient light was metering at. And at that part of the assignment I do feel that we failed at. Going over the assignment again, I know where we failed. We were trying to make the strobe light our main source of lighting instead of the sun. We did not use the strobe as a fill light, and instead set our strobe to be about a stop and a half higher than what the sun was metering at. Looking at our final photo, it definitely is not as successful as it could of been if we used the lighting correctly. Now, this could because 3/5 members had no clue what we were doing [though, now, we understand it a lot better]. However, if you consider the fact that we were able to make the strobe the main lighting instead of the sun is pretty impressive and this definitely gave us inexperienced classmates a better understanding of lighting and metering for sure.


sun amb1.60th.jpg

This was for sure a great way to experience working with a vast variety of weather and working around it (and hungry models). We had to work fast because of the inconsistent sun exposure.

Below is the outline of how we set up our set

LightingSetup

Second Scenarios: Shade

Shade for sure was the easiest out of the 2 scenarios that we had to do. One, because we did not have to wait on the sun but when the sun did appear we had to wait it out because it would change the ambient lighting around the scene which would in turn change our meter readings once we started inserting the strobes. Shade Slide.jpg

This was actually the first setting we got to play with the single light set up. The biggest thing we had an issue with was mergers in the background with the model. This portion of the project went fairly smoothly though, I did not understand what half of the terms being spewed out meant. What I took most from this portion of the project is how important lighting in shade is and how much better it can make a photo if set up properly.

Below is our set up for the shade set

LightingSetup


SFCC: Digital 126

This year I went back to school and could not be more pleased! I have finally decided to go learn about something I love. Photography! Here are some photos from my digital class this quarter that I hope you all enjoy. I have learned so much and am very grateful for the opportunity that I get to work with such amazing and talented teachers, mentors, and fellow students. **Once, I have presented my prints for film I will upload those as well.

I loved figuring out what I wanted to do as a photographer and cannot wait to see what I do moving forward. I love taking detail, almost fine art, photos. Sometimes, the closer the better. But, taking a step back does not hurt either. We got to play and experiment a lot with composition this quarter as well. Going out and taking photos of my new surroundings made me miss home, however, seeing how far I have come reminds me that I am making my family proud. I got to learn more about Lightroom ( Adobe) and A LOT more about Photoshop.

This slideshow requires JavaScript.